This document is deprecated! The information on this page refers to a Thesis version that is now obsolete. Please visit the Thesis Docs for current documentation.
Thesis gives you an unprecedented level of control over the fonts and font sizes used in your theme’s design. By using the font selection tool on the Design Options panel, you can construct your own unique typographic masterpieces with ease.
To begin, visit the Design Options panel in your WordPress dashboard, as shown in Figure 1.

Figure 1. To access the font selection tool, simply visit the Design Options page.
Working with the Font Selector
All things considered, the font selector is pretty intuitive to use, but there are a few things you need to know in order to make effective use of this tool.
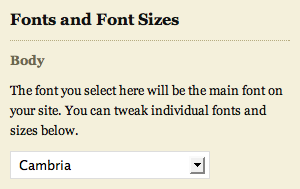
First, the Body selector is the most powerful font controller you have. The font you select here will be used in your content area, and it will also be used as the default font in every other section of your theme. If you want to tweak your fonts further, you’ll be able to do so on a per-section basis using the other controls.

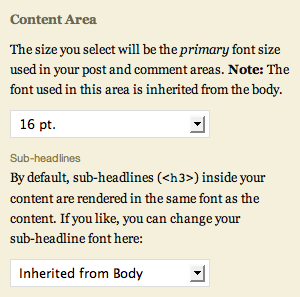
Figure 3. The Content Area font selector controls the primary font size used in your post and page content.
Second, the Content Area selector controls the primary font size used in the content and comments of your posts and pages. Unlike the Body selector, this one does not affect the sizing anywhere else in your theme. Also, it’s worth noting that no matter what font size you choose, the resulting typographical styles will automatically adjust to ensure pixel-perfect rendering regardless of your selection.
Oh, and if you’re wondering about the Sub-headlines selector that appears in Figure 3 to the right, that controls the font used to render the sub-headlines (<h3> tags) inside your content.
