This document is deprecated! The information on this page refers to a Thesis version that is now obsolete. Please visit the Thesis Docs for current documentation.
A widgetized or “fat” footer provides site operators with a low maintenance section of footer-area widgets that can be administered from within the WordPress interface.
To create a three-column set of widgets in your site’s footer, add the following to custom_functions.php:
if ( function_exists('register_sidebar') )
register_sidebar(array(
'name' => 'Footer Widgets Left',
'before_widget' => '<li class="widget %2$s" id="%1$s">',
'after_widget' => '</li>',
'before_title' => '<h3>',
'after_title' => '</h3>'
));

if ( function_exists('register_sidebar') )
register_sidebar(array(
'name' => 'Footer Widgets Middle',
'before_widget' => '<li class="widget %2$s" id="%1$s">',
'after_widget' => '</li>',
'before_title' => '<h3>',
'after_title' => '</h3>'
));

if ( function_exists('register_sidebar') )
register_sidebar(array(
'name' => 'Footer Widgets Right',
'before_widget' => '<li class="widget %2$s" id="%1$s">',
'after_widget' => '</li>',
'before_title' => '<h3>',
'after_title' => '</h3>'
));

function my_widgetized_footer() { ?>
<div id="footer-widget-block">
	<div class="my-footer-one footer-widgets sidebar">
		<ul class="sidebar_list">
			<?php thesis_default_widget(3); ?>
		</ul>
	</div>

	<div class="my-footer-two footer-widgets sidebar">
		<ul class="sidebar_list">
			<?php thesis_default_widget(4); ?>
		</ul>
	</div>

	<div class="my-footer-three footer-widgets sidebar">
		<ul class="sidebar_list">
			<?php thesis_default_widget(5); ?>
		</ul>
	</div>
</div>
			<?php
	}
add_action('thesis_hook_footer','my_widgetized_footer','1');
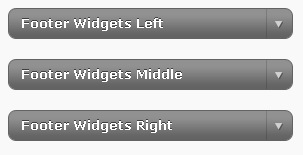
The PHP above registers three new widget areas in the footer, and gives them names for easy identification and use within the interface: Footer Widgets Left, Footer Widgets Middle, and Footer Widgets Right.
You’ll want to add formatting to these widgetized areas in the footer. A starting point in custom.css is the following:
.custom #footer-widget-block { text-align:left; overflow:hidden; }
.custom .footer-widgets { width:33%; float:left; }
.custom .my-footer-one {}
.custom .my-footer-two {}
.custom .my-footer-three {}
For this tutorial, only the first two lines of CSS above “do anything” – but three unique selectors are included if you want – as an example – to change the font size or background color of one of these widgetized areas without affecting the other widget areas in your footer.
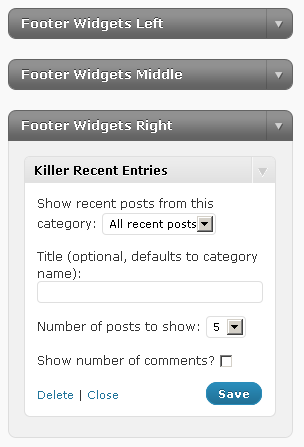
The code is done, and when you visit your WordPress Administration area, under Appearance, then Widgets, you should now see the three new areas you’ve created.
Using Your New Widgetized “Fat” Footer
Let’s say you want to add one widget to each of your new footer areas: an “About” section, a list of your Categories, and a listing of recent posts.
In the widgetized area named “Footer Widgets Left” drag a “Text” widget from the Available Widgets section into that area. Add the text for your About section – and you’re done!
In the widgetized area named “Footer Widgets Middle” drag the “Categories” widget from the Available Widgets, make any adjustments to the widget you like, and this is complete as well.
Finally, for “Footer Widgets Right” grab and drag the “Killer Recent Entries” widget over from the Available Widgets section, choose the number of posts and other options, and now this, too, is complete.
That’s all there is to it! Your “fat” footer’s three widgetized areas accept widgets just like your sidebars, and you can add, change, and remove a variety of widgets to these footer areas just as you do with your sidebars.

