Finishing a really long post?
Does it feel “too long” in terms of the scrolling your visitors will need to do?
You may want to consider “paginating” that 5,000 word monster article.
Pagination breaks posts into shorter segments using the <!--nextpage--> quicktag.
To avoid confusion, note that the <!--more--> quicktag is a related concept — but it can only be used once on a given post, and “more” tends to be used as a lead-in for a post manually excerpted on the home page.
The <!--nextpage--> quicktag, by contrast, separates a post into as many URL units — as many “pages” — as you, the author, want.
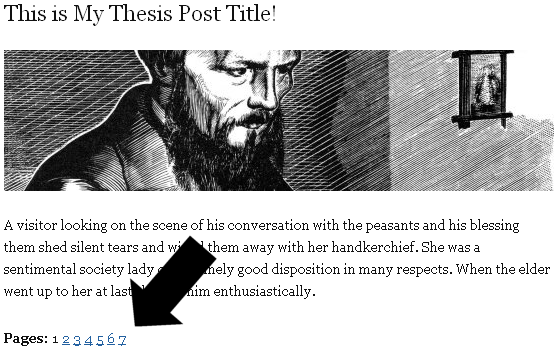
Using “NextPage” also creates a visible set of numbers at the bottom of the content area. If you have seven sections of a post, by using six <!--nextpage--> quicktags, you’d see pagination at the bottom of your post like so:

If your permalink looked like this: http://yoursite.com/my-post-name/ prior to pagination, it will still appear this way on the first section of the article.
However, each “nextpage” of your post will create an additional permalink extension.
Your fourth “next page” would look like this: http://yoursite.com/my-post-name/4/ — notice the /4/ makes this a unique URL.
Paginated links are “dofollow” by default. However, excessive use of pagination is an SEO consideration — the same <title> is repeated on each paginated URL of your post — and links such as “2” are not considered a prime use of anchor text.
In other words, while using the <!--nextpage--> quicktag can improve readability and increase average page view figures, pagination should be used with restraint to avoid dilution of PageRank — in other words, to maintain optimal SEO power.
As an additional note for Thesis users, if you a Thesis “post image” and <!--nextpage--> are used for the same post, your post image will appear at the top of each “paged post” URL.
The repetition of your post image is not necessarily a bad thing, and can help tie the paginated post together — but it’s a useful detail to know in advance.