Attention! You’ll need an FTP client and a text editor to add a logo to your WordPress login screen. This is an intermediate task, but you’re a champ, and I know you can do it!
Branding is a key element for any site owner. Whether you own a large company or are just one person writing a blog, your brand is your identity.
Even if you’re the only person who regularly sees your WordPress Login screen, adding your logo is easy and rewarding.
Pop quiz! What does the following default login screen do for you or your brand?
Wait a minute…this screen is providing branding for WordPress, not you!
But have no fear—with just one image and one simple PHP function, you can make this screen work for your brand!
Adding Your Custom Login Image
You don’t need much to make a big visual impact here. You need an image, and then you need a simple function to display that image on the WordPress login screen.
![]() Beginning with the image, our recommendation is to make it a maximum of 312px wide and as “tall” as you like.
Beginning with the image, our recommendation is to make it a maximum of 312px wide and as “tall” as you like.
Your image can be any format, but a .png is a good choice for general flexibility and color faithfulness. We’ll use the DIYthemes logo pictured here, which is 240px wide by 240px tall.
Once you have your new WordPress login image ready, upload it to your WordPress Media Gallery and then copy the URL to the image. Also be sure to note the width and height of your image.
The next step is to add your image in place of the default WordPress logo on the login screen.
To do this, you’ll need to FTP into your server and then edit your Thesis master.php file, which is located here:
yoursite.com/wp-content/thesis/master.php
Add the following PHP code to your master.php file:
add_action('login_head', 'login_image');
function login_image() { ?>
<style>
body.login #login h1 a {
	background: url('your-image-url') 0 0 no-repeat transparent;
	width: [your-image-width]px;
	height: [your-image-height]px;
}
</style>
<?php
}
In the above code, you’ll want to replace your-image-url with the full URL to your image. You should also replace [your-image-width] and [your-image-height] with the width and height of your image.
If you’ve completed this step properly, you’ll see your logo on the WordPress login screen:
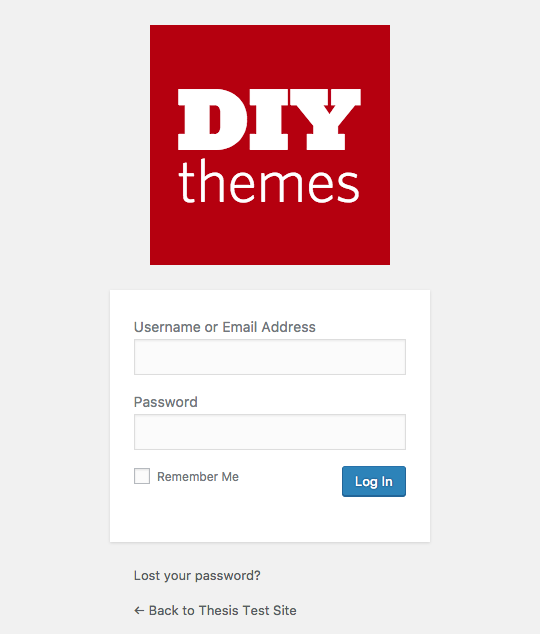
Whoa—that’s a pretty yuge difference!
From now on, when you log into WordPress, you’ll be greeted warmly by your very own logo instead of that dreary old WordPress marque. Booyah!