This document is deprecated! The information on this page refers to a Thesis version that is now obsolete. Please visit the Thesis Docs for current documentation.
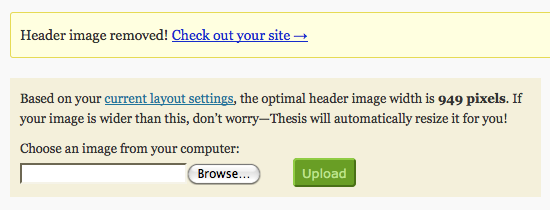
One of the first things most Thesis users want to do is add a custom header image to their site. Thesis makes this easy to do from its Header Image subpanel, and it even calculates the optimal header width for you:
Note that if the header image you wish to use is larger than the optimal width indicated by Thesis, the image size will be reduced to fit. In some cases, this may affect the quality of the original image.
If so, you can either reduce the original image size yourself in an image editing program, or increase the total widths of your Content and Sidebar(s) to accommodate the original image size.
For example, if your header image is 765px, but Thesis is indicating an optimal header with of 750px, add a total of 15px to the Content and/or Sidebar(s) widths combined. See Change Number and Order of Columns for more information on changing these width settings.
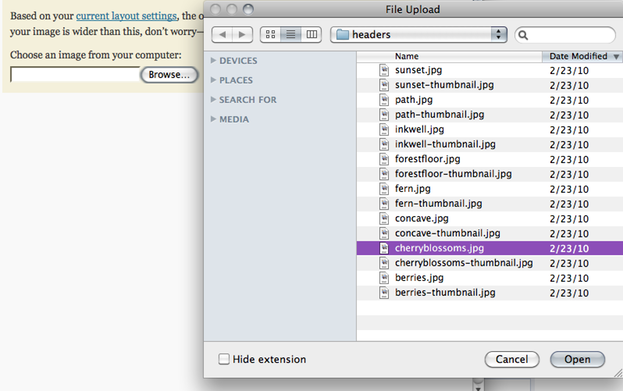
Once you click the Browse button, you’ll be able to select your desired header image file from your computer:
Select the file, and then the Open button in the dialog window. The header image will be uploaded, and you’ll see it displayed right there on the Header Image subpanel:
Thesis will also add the necessary CSS to its layout.css file to render the header image on your site, so you’ll be able to view it there as well.
If, after uploading the header image, you decide you want to remove it for some reason, hover over the top left corner of the image until the Remove Image button appears, and then click it:
The image will then disappear from the Header Image subpanel:
Thesis will also remove the previously added CSS from its layout.css file, and thus, the header image on your site will also no longer be visible.


