This article is deprecated! Any technical information refers to software versions that are now obsolete. Please visit the DIYthemes Blog for current updates, or check out the old Thesis Blog for a treasure trove of website marketing insights.
This article is deprecated because newer, better solutions have emerged since it was written. We now recommend using Thesis and either WooCommerce or Easy Digital Downloads to create your online store!
If you’re trying to build a business online, creating an online store is one of your best bets. After all, that’s how Amazon.com and Zappos.com did it.
The problem is, to create a successful e-commerce site, you need to worry about design, functionality, and security…all of which can be quite expensive.
Luckily, there’s an easier way! When you combine the wonderful WP e-Commerce plugin by Instinct Entertainment [edit: link removed] with Thesis, you’ll get a stunning online store that is SEO optimized, feature-packed, and geared for sales.
Which Type of Online Store Do You Want to Create?
There are two key ways you can implement the WP e-Commerce plugin with the Thesis Theme for WordPress: gallery view or standard view. What’s the difference?
Quite simply, the only difference between the two is how the homepage looks. To see what I mean, keep reading.
1. The Gallery View Store
When you have a store with a Gallery View home page, you’ll see products arranged in a grid, with products spanning horizontally and vertically. Check out figure 1 for a demo:
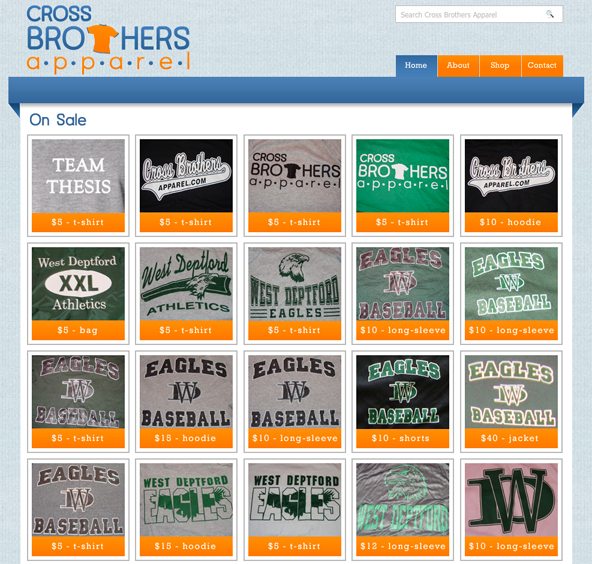
Figure 1. Online store with a gallery view
2. The Standard View Store
When you create a Standard View online store, your products will be listed vertically with product details right on the homepage. To see what I mean, check out figure 2:
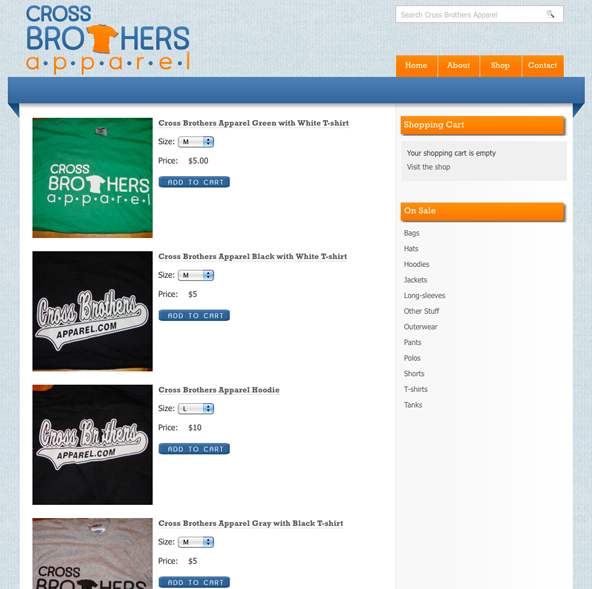
Figure 2. Online store with a standard view
Now let’s dive right in and I’ll show you how to set up both types of online stores. Oh, and don’t worry, I’m going to make this as easy and painless as possible!
Before We Get Started…
For this tutorial, I’m going to assume you have a fresh installation of WordPress, the Thesis Theme for WordPress, and the WP e-Commerce plugin on your site. If so, let’s get started.
The Gallery View Online Store
Step 1: Make Your Permalinks Pretty
While this step isn’t 100% necessary for a functional e-Commerce store, it adds to the “believability” of your shop. Personally, I know I’m much more likely to buy from a site with URLs like this:www.website.com/tshirt/phillies, instead of like this: www.website.com/?p=2374.
Plus, it’s smart to configure your permalink structure prior to doing anything else because it’s quick, good for SEO, and can prevent headaches down the road!
I personally like my permalinks structured as www.mysite.com/category/postname, however, you can structure your permalinks anyway you like. I would only advise not to use the default setting. To find out more about permalinks, the WordPress Codex has some great information.
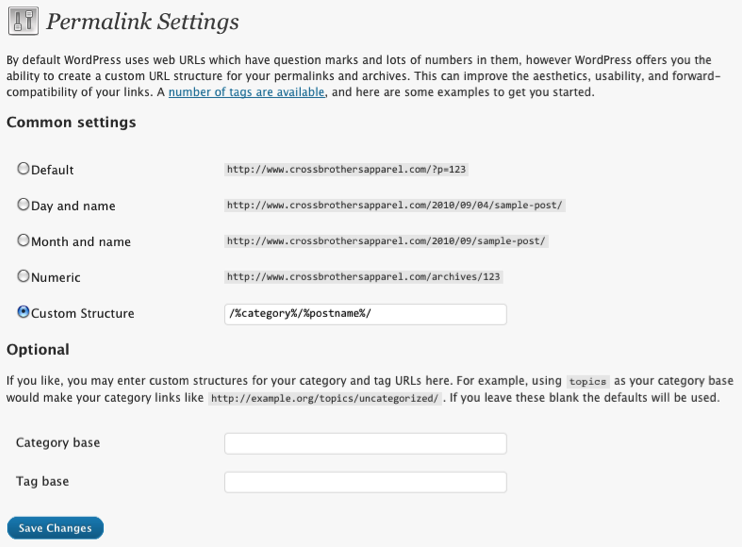
To change your permalink structure, go to Settings → Permalinks, choose “Custom Structure” and then insert your custom permalink structure. I use /%category%/%postname%/ since I like my permalinks to look like www.mysite.com/category/postname (click here for an image).
Lastly, click on the Save Changes button.
Step 2: Create a Custom Home Page in WordPress
Since we want our home page to include a Gallery for our online shop, we need to move our blog posts to another page, which is really simple with the latest WordPress backend (version 3.0+).
First, you’ll need to create two brand-new pages:
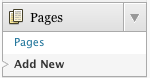
- Go to Pages → Add New. (click here for an image)
- Enter Blog as the title, and then Publish it.
- Go to Pages → Add New once again.
- Enter Home as the title, and then Publish it.
We now need to move our posts to the Blog page and set the Home page as the new home page.
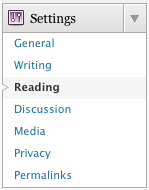
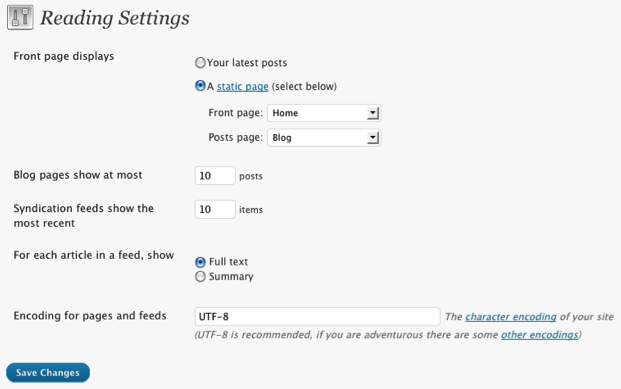
- Go to Settings → Reading (click here for an image)
- Next to “Front page displays”, choose “A static page.” (click here for an image)
- From the dropbox next to “Front page,” choose Home.
- From the dropbox next to “Posts page,” choose Blog.
- Click on the Save Changes button.
Step 3: Enable the Navigation Menu
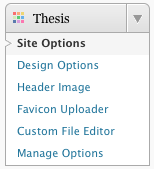
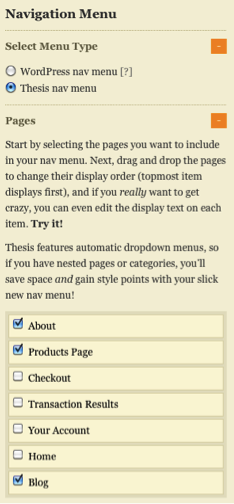
To enable the Thesis nav menu, go to Thesis → Site Options (click here for an image). Under “Navigation Menu,” choose “Thesis nav menu” and then under “Pages,” check off the pages you want to include in your menu (click here for an image).
Do not check the “Home” page. It is already included in your navigation menu since you set it as your home page in Step 2. If you do check it, the “Home” link will appear twice in your menu.
Finally, click on the Big Ass Save Button.
Step 4: Build Our Gallery Using the Custom Loop API – custom_functions.php
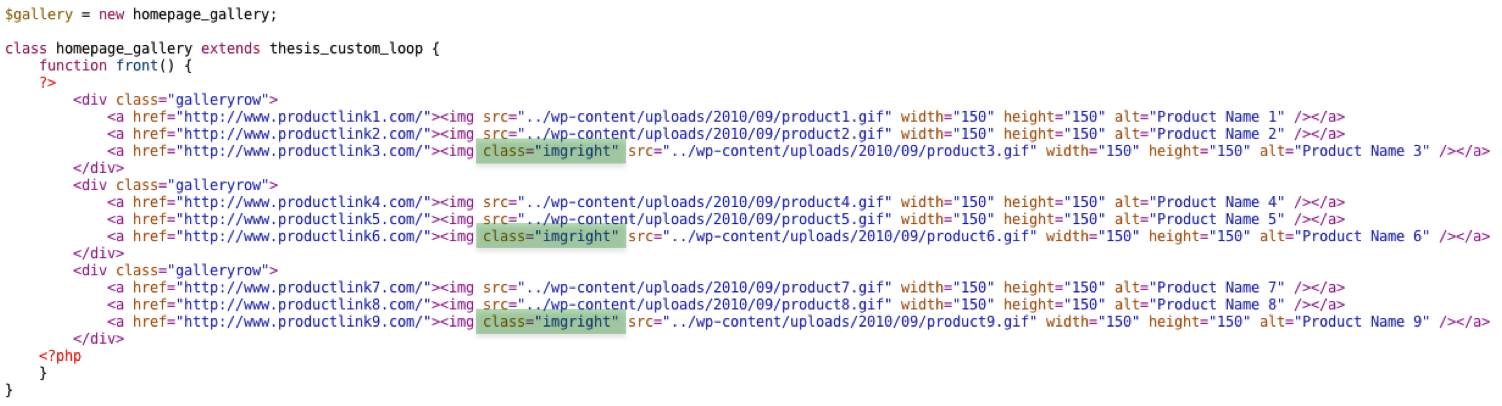
To create the Gallery View Online Store, you’ll need to use the Custom Loop API. To do this, navigate to your custom_functions.php and insert the following code at the bottom of the page:
$gallery = new homepage_gallery;
class homepage_gallery extends thesis_custom_loop {
function front() {
?>
<div class="galleryrow">
<a href="http://www.productlink1.com/"><img src="../wp-content/uploads/2010/09/product1.gif" width="150" height="150" alt="Product Name 1" /></a>
<a href="http://www.productlink2.com/"><img src="../wp-content/uploads/2010/09/product2.gif" width="150" height="150" alt="Product Name 2" /></a>
<a href="http://www.productlink3.com/"><img class="imgright"  src="../wp-content/uploads/2010/09/product3.gif" width="150" height="150" alt="Product Name 3" /></a>
</div>
<div class="galleryrow">
<a href="http://www.productlink4.com/"><img src="../wp-content/uploads/2010/09/product4.gif" width="150" height="150" alt="Product Name 4" /></a>
<a href="http://www.productlink5.com/"><img src="../wp-content/uploads/2010/09/product5.gif" width="150" height="150" alt="Product Name 5" /></a>
<a href="http://www.productlink6.com/"><img class="imgright" src="../wp-content/uploads/2010/09/product6.gif" width="150" height="150" alt="Product Name 6" /></a>
</div>
<div class="galleryrow">
<a href="http://www.productlink7.com/"><img src="../wp-content/uploads/2010/09/product7.gif" width="150" height="150" alt="Product Name 7" /></a>
<a href="http://www.productlink8.com/"><img src="../wp-content/uploads/2010/09/product8.gif" width="150" height="150" alt="Product Name 8" /></a>
<a href="http://www.productlink9.com/"><img class="imgright" src="../wp-content/uploads/2010/09/product9.gif" width="150" height="150" alt="Product Name 9" /></a>
</div>
<?php
}
}
Notice that the last image of each galleryrow has a CSS class of .imgright (click here for an image). I included this CSS class for the last item in each row so that in Step 6 we can set the right margin to 0 for these images. This will ensure proper alignment within the page.
Each gallery item has the following:
- href – the link to the “Individual Product Page” (we will replace this in step 8)
- src – the file location of the image (we will replace this in step 5)
- width – the width of the image
- height – the height of the image
- alt – the alternate text for the image
In the example above, we have 3 rows with 3 products in each row. If you wanted to change it up, all you’ll have to do is add/remove extra links between the </div> tags. To make it fit, you may have to tweak the sizing of the images as well.
Note: In the above code, you’ll need to replace productlink.com with the appropriate product link. You’ll also need to set the correct image url.
Step 5: Upload Your Gallery Images
Return to your Dashboard, and under Media → Add New (click here for an image) upload each image you want to use for your Gallery View. We set the width and height of our images to 150px in Step 4. Ideally, your images should be the same size.
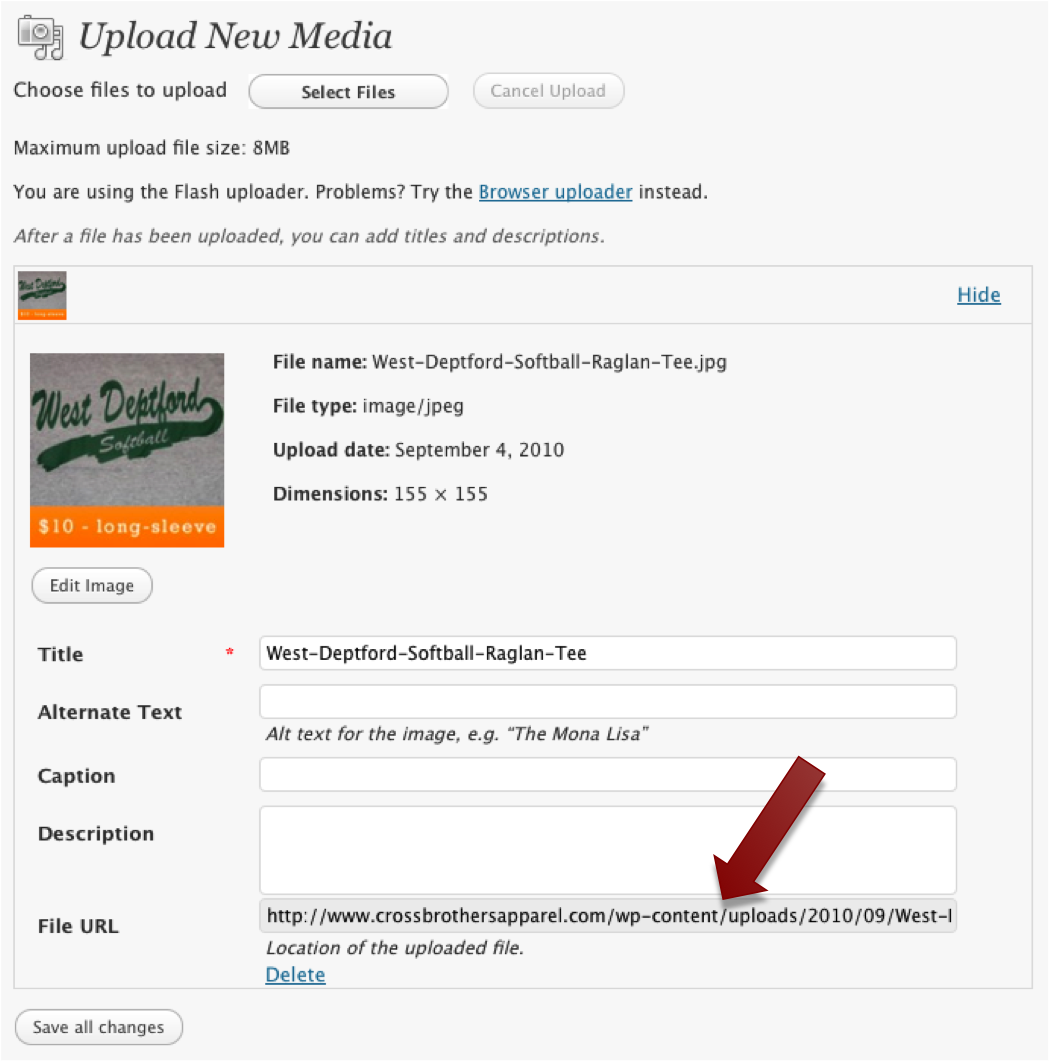
After you upload each image, copy the File URL for that image (click here for an image). Then, return to your custom_functions.php file and replace the image source (src) with the File URL source you just copied (click here for an image). Repeat this for each product image.
Your home page should now look similar to Figure 3:
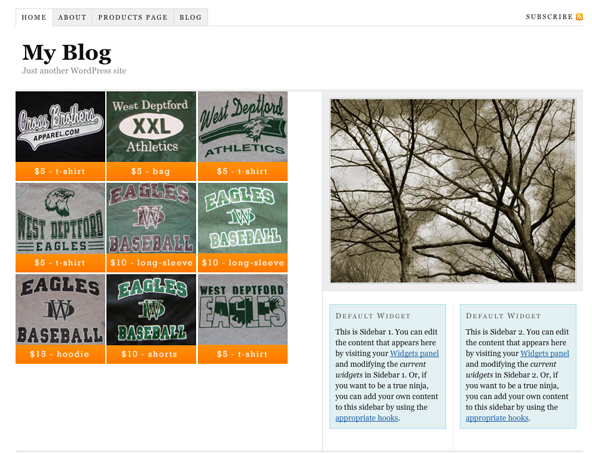
Figure 3.This is how your e-Commerce store will look with a default Thesis Theme install.
Step 6: Let’s Make It Look Good – custom.css
Assuming the Thesis default column widths are still intact and you chose the original 3 by 3 Gallery View structure from Step 4, you could use the following code in your custom.css file to style your Gallery images:
.custom .galleryrow {
padding: 3px 0; /* Adds padding to the top and bottom of each row */
}

.custom .galleryrow img {
margin-right: 6px; /* Adds a margin to the right of each image */
padding: 4px; /* Adds padding around each image */
border: solid 2px #B8B8B8; /* Adds a border around each image */
}

.custom .galleryrow .imgright {
margin-right: 0; /* Adds a margin of 0 to the right of the last image in each row */
}
This assumes that each Gallery image is 150px by 150px. Your images can be a different size; you will just need to adjust the width and height for each product in your custom_functions.php file and then tweak the styling in your custom.css file.
Step 7: Store Categories
Now you’ll want to set-up your shop’s categories. It’s especially important if you used the category in your permalinks in Step 1.
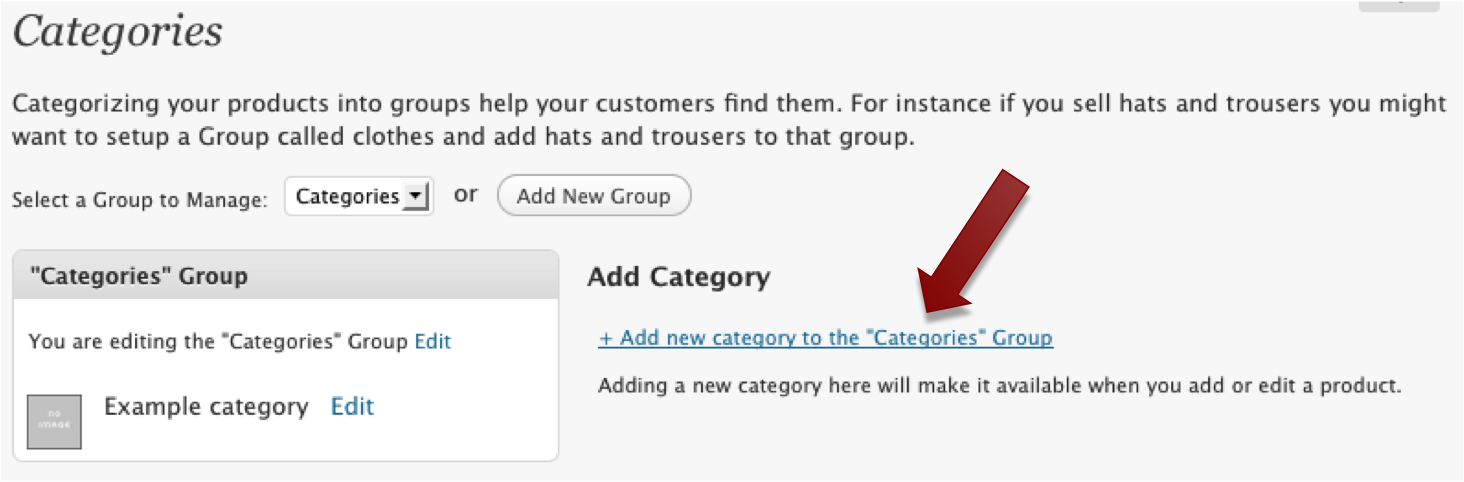
In your Dashboard, under Store → Categories (click here for an image), click on “Add new category to the ‘Categories’ group” (click here for an image). Do this for each category you would like to use.
Step 8: Add Your Products to the Store
Now it’s time for the meat and potatoes of your shop – your actual products…
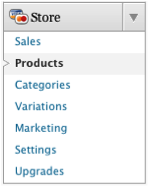
Under Store → Products (click here for an image), add each of your products. There are many settings you can choose from, however, it’s important to include the Product Name, Price, Category, and Image. You can go back and configure the other options after your shop is set-up.
Please note: The image you used for your Gallery View in Step 5 will not display on its “Individual Product Page”. You will need to upload a new image for its “Individual Product Page”. It can be different than the image you used in your Gallery. For example, the Cross Brothers Apparel site has a different image on its home page [edit: link removed] than it does on its “Individual Product Page” [edit: link removed].
Now, go to your website and navigate to the “Products Page”. Click on the title of a product. Once you are at the “Individual Product Page” for the product, copy its permalink from the top of your browser. Then, return to your custom_functions.php file and replace the href for the product with the permalink you just copied (click here for an image). Repeat this for each product in your shop.
Step 9: Check It Out!
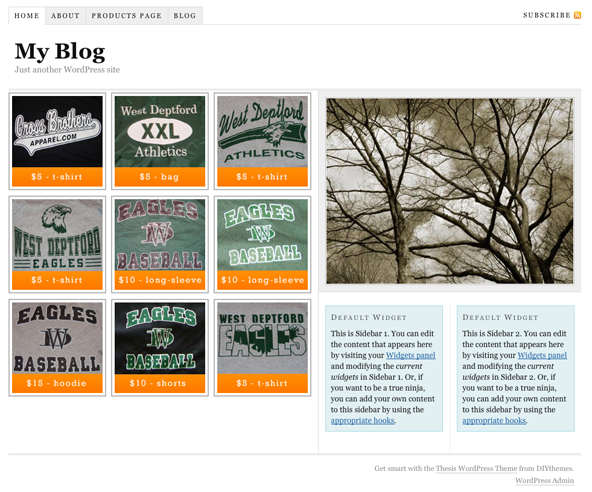
Figure 4. Here’s how your Gallery View Online Store will look.
The Standard View Online Store
Step 1: Make Your Permalinks Pretty
While this step isn’t 100% necessary for a functional e-Commerce store, it adds to the “believability” of your shop. Personally, I know I’m much more likely to buy from a site with URLs like this: www.website.com/tshirt/phillies, instead of like this: www.website.com/?p=2374.
Plus, it’s smart to configure your permalink structure prior to doing anything else because it’s quick, good for SEO, and can prevent headaches down the road!
I personally like my permalinks structured as www.mysite.com/category/postname, however, you can structure your permalinks anyway you like. I would only advise not to use the default setting. To find out more about permalinks, the WordPress Codex has some great information.
To change your permalink structure, go to Settings → Permalinks, choose “Custom Structure” and then insert your custom permalink structure. I use /%category%/%postname%/ since I like my permalinks to look like www.mysite.com/category/postname (click here for an image).
Lastly, click on the Save Changes button.
Step 2: Create a Custom Home Page in WordPress
Since you want your home page to include our Standard View for your shop, you need to move our blog posts to another page.
First, you must make one new page:
- Go to Pages → Add New. (click here for an image)
- Enter Blog as the title, and then Publish it.
Then, you need to move your posts to the Blog page and set the Products Page as the new home page.
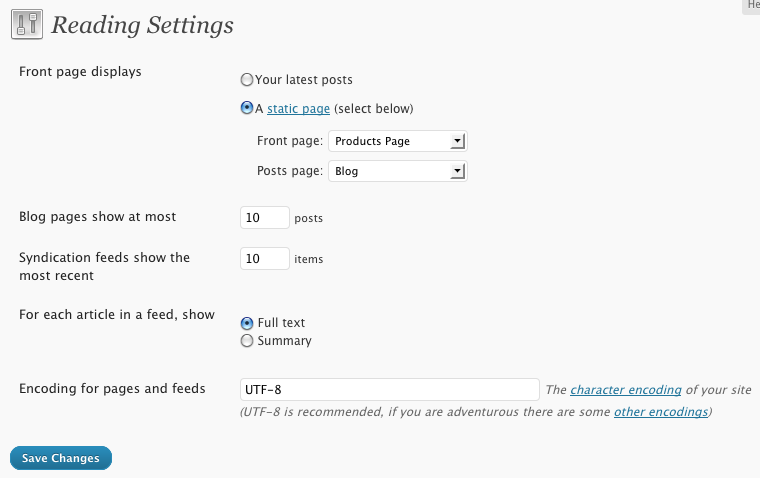
- Go to Settings → Reading. (click here for an image)
- Next to “Front page displays”, choose “A static page.” (click here for an image)
- From the dropbox next to “Front page,” choose Products Page.
- From the dropbox next to “Posts page,” choose Blog.
- Click on the Save Changes button.
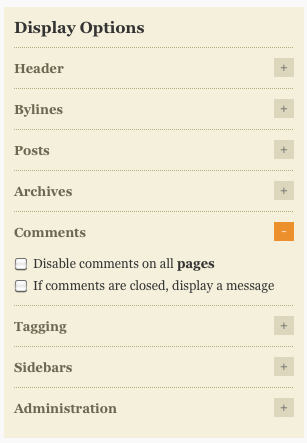
To eliminate the “Comments on this entry are closed” text at the bottom of your home page, go to Thesis → Design Options → Display Options → Comments and uncheck “If comments are closed, display a message” (click here for an image).
Lastly, click on the Big Ass Save Button.
Step 3: Enable the Navigation Menu
It’s a good idea to enable your navigation menu so that you can check our progress later in the tutorial.
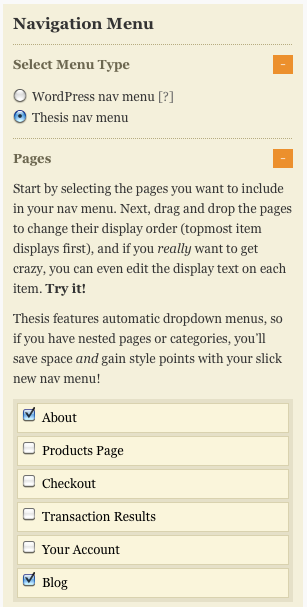
To enable the Thesis nav menu, go to Thesis → Site Options (click here for an image). Under “Navigation Menu,” choose “Thesis nav menu” and then under “Pages,” check off the pages you want to include in your menu (click here for an image).
Do not check the “Products Page.” It is already included in your navigation menu since you set it as your home page in Step 2. If you do check it, the “Products Page” link will appear twice in your menu.
Finally, click on the Big Ass Save Button.
Step 4: Store Categories
At this point, you’ll want to set up your shop’s categories. It is important if you used the category in your permalinks in Step 1.
Under Store → Categories (click here for an image), click on “Add new category to the ‘Categories’ group” (click here for an image). Do this for each category you would like to use.
Step 5: Add Your Products to the Store
Now it’s time for the meat and potatoes of your shop—your actual products.
Under Store → Products (click here for an image), add each of your products. There are many settings you can choose from, however, it’s important to include the Product Name, Price, Category, and Image. You can go back and configure the other options after your shop is set up.
By default, the WP e-Commerce plugin shows the P&P on the “Products Page.” To turn this off, go to Store → Settings → Presentation. Then, next to “Show Postage and Packaging,” choose “No.” Finally, click on the Update button.
Step 6: Check It Out!
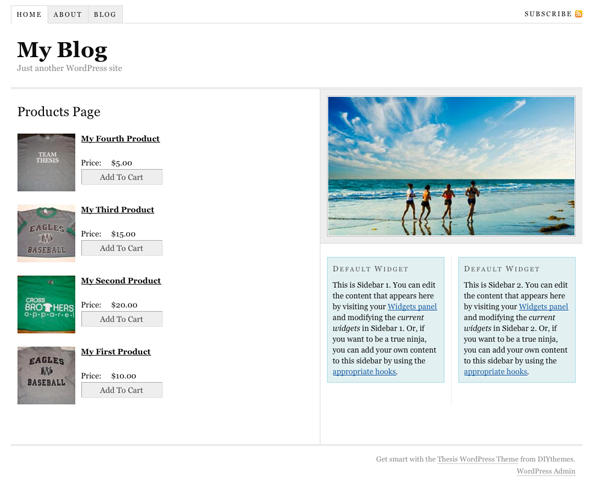
Figure 5. Here’s how the Standard View Online Store Looks.
You’re Good to Go
Congratulations! You are now the proud owner of a killer Thesis e-commerce website to show off your awesome products. Now go on and make some money!
