Before you can connect to the Twitter API, you’ll need to apply for Developer Portal access.
Please note: This process will be easiest if you use a desktop or laptop device.
1. Apply for a Twitter Developer Account
To begin, sign into Twitter and then visit the Twitter Developer Portal.
Click the Apply link next to your avatar in the upper right corner.
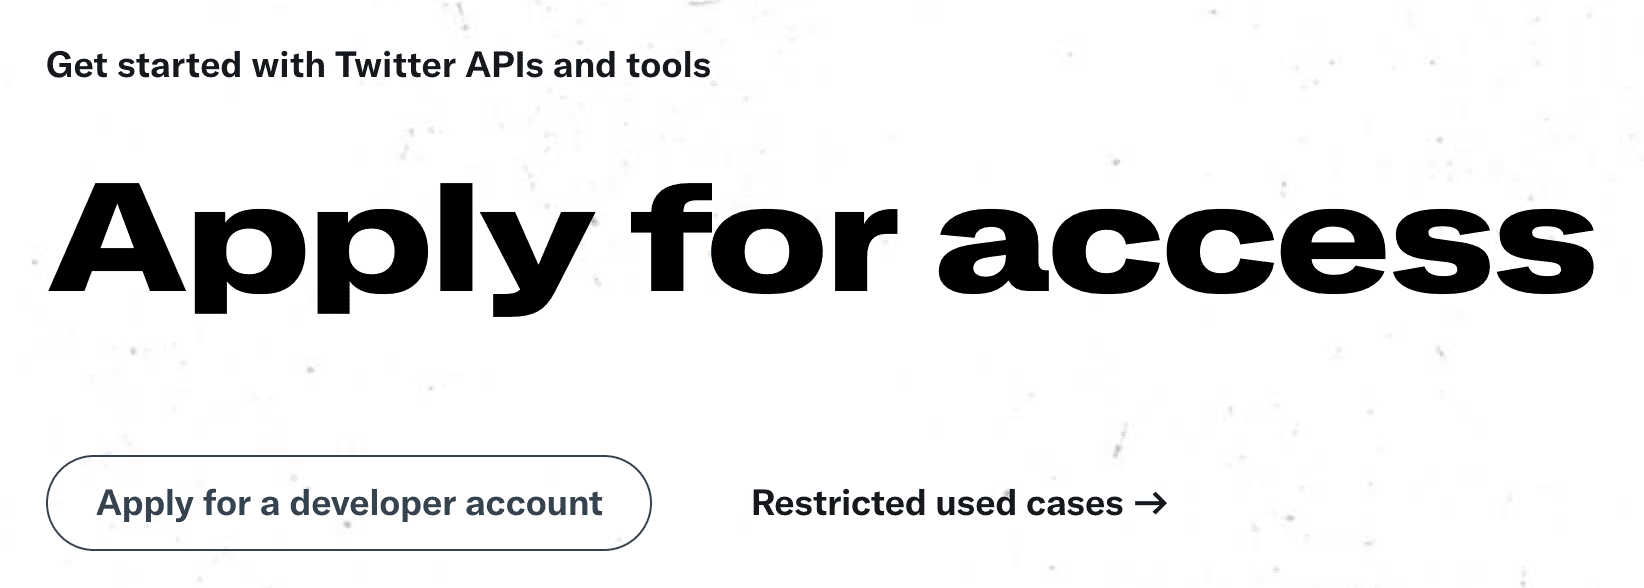
On the ensuing screen, click the button that says Apply for a developer account.
Annoying, but necessary: If you haven’t verified your phone number with Twitter yet, you’ll need to do that now before you can establish a developer account. Twitter will guide you through this process automatically.
2. Describe Yourself
Once inside the Developer Portal, Twitter will ask for some information about you.
To keep things simple, just tell them you’re a Hobbyist who is building tools for Twitter users, as shown in the image below.
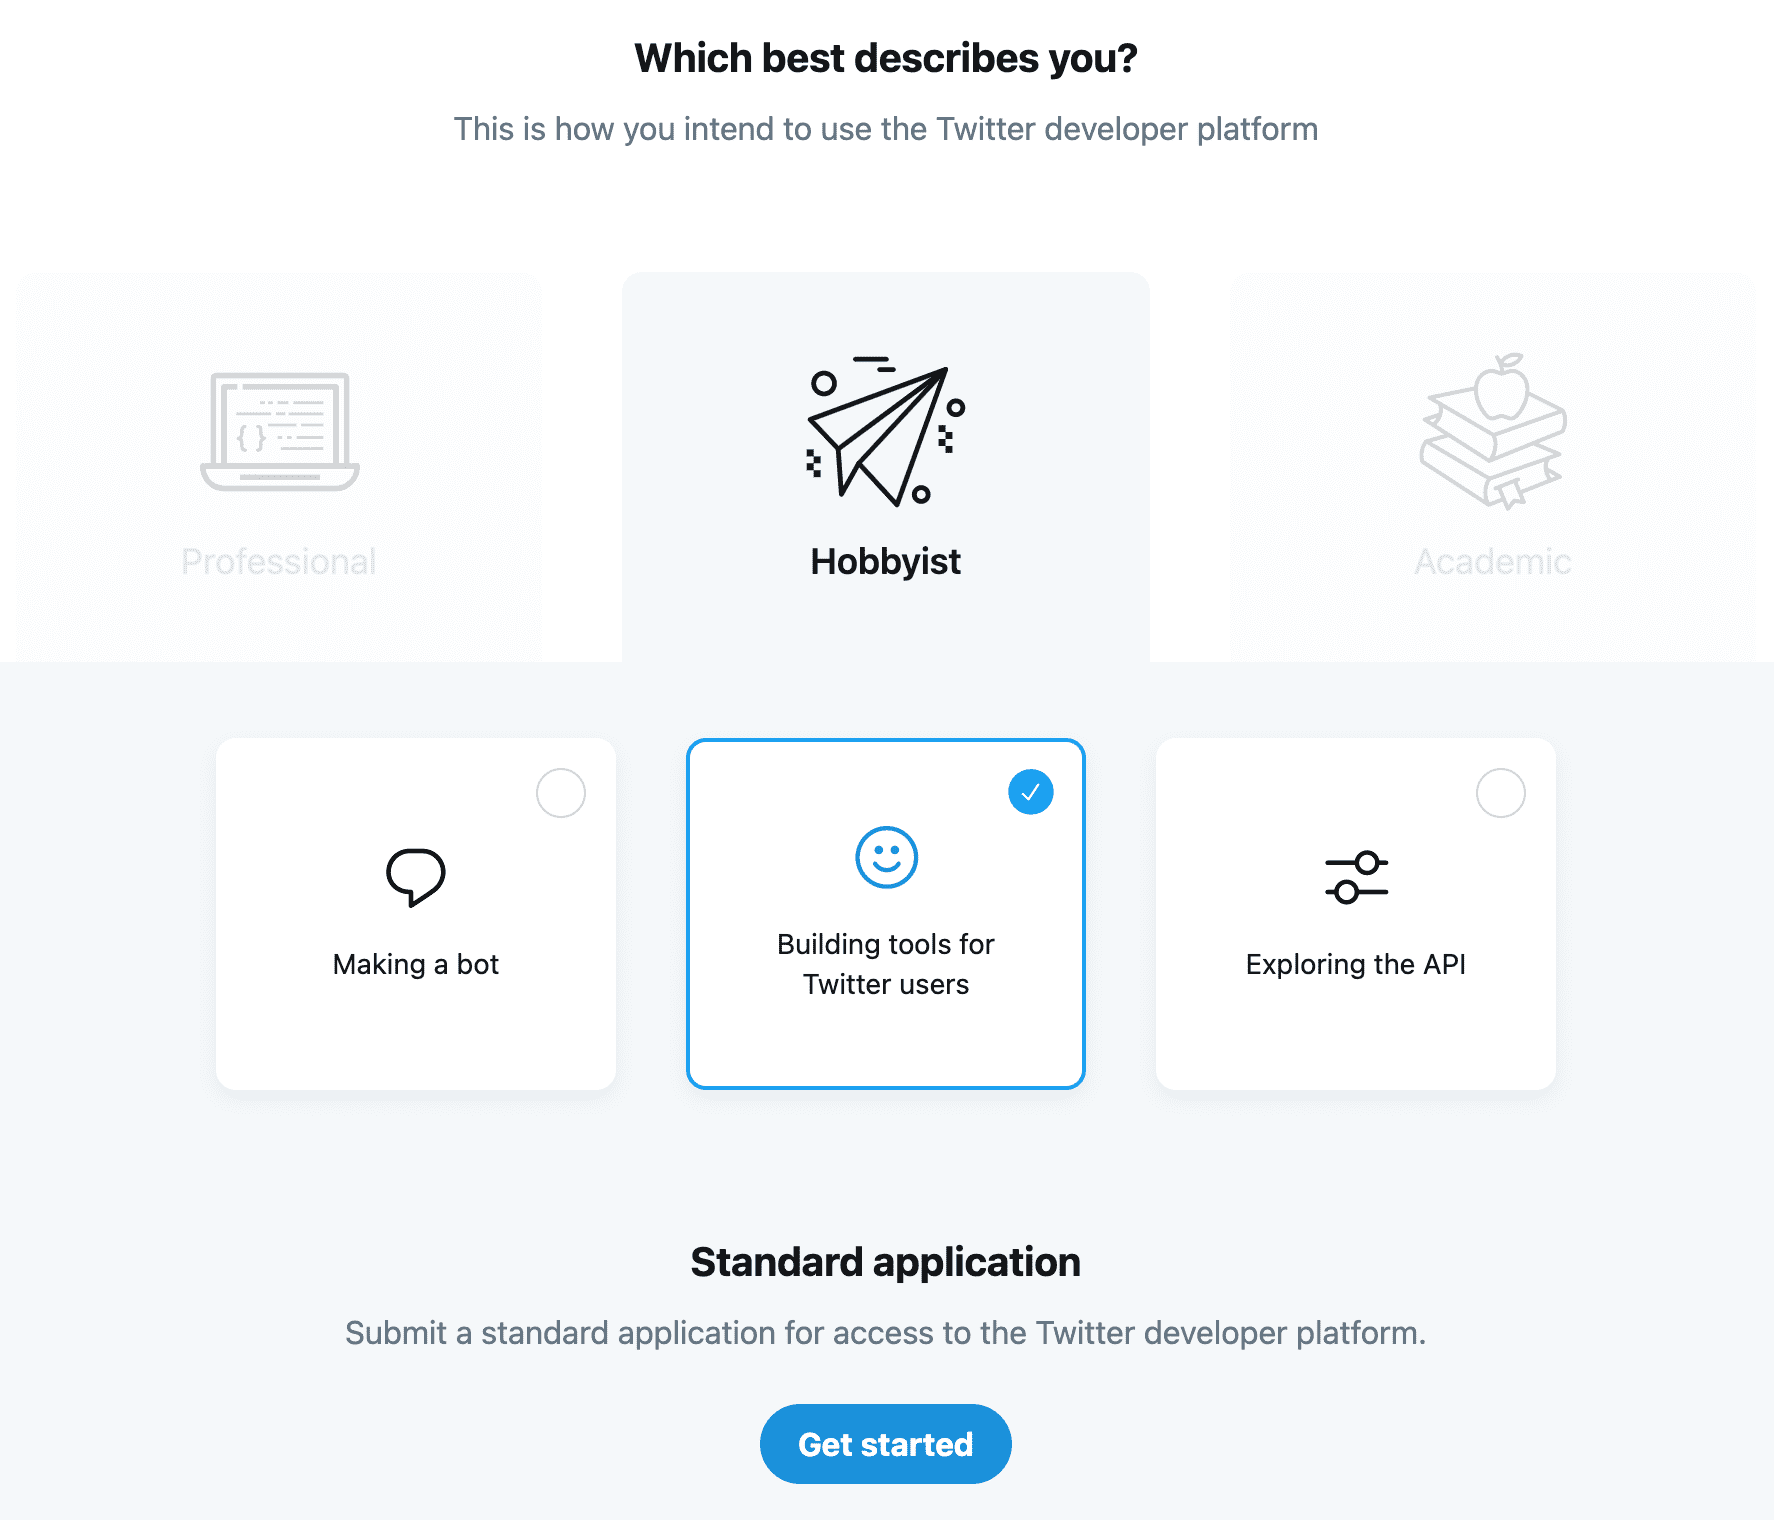
When you’re done, click that big, blue Get started button to proceed.
3. Basic Info
Next, Twitter will ask you to select and verify your basic information. Most of the questions in this section are self-explanatory, but one may catch you off guard:
What’s your current coding skill level?
It doesn’t matter what you enter here, and there’s no wrong answer. Just select the option that suits you best, and move on!
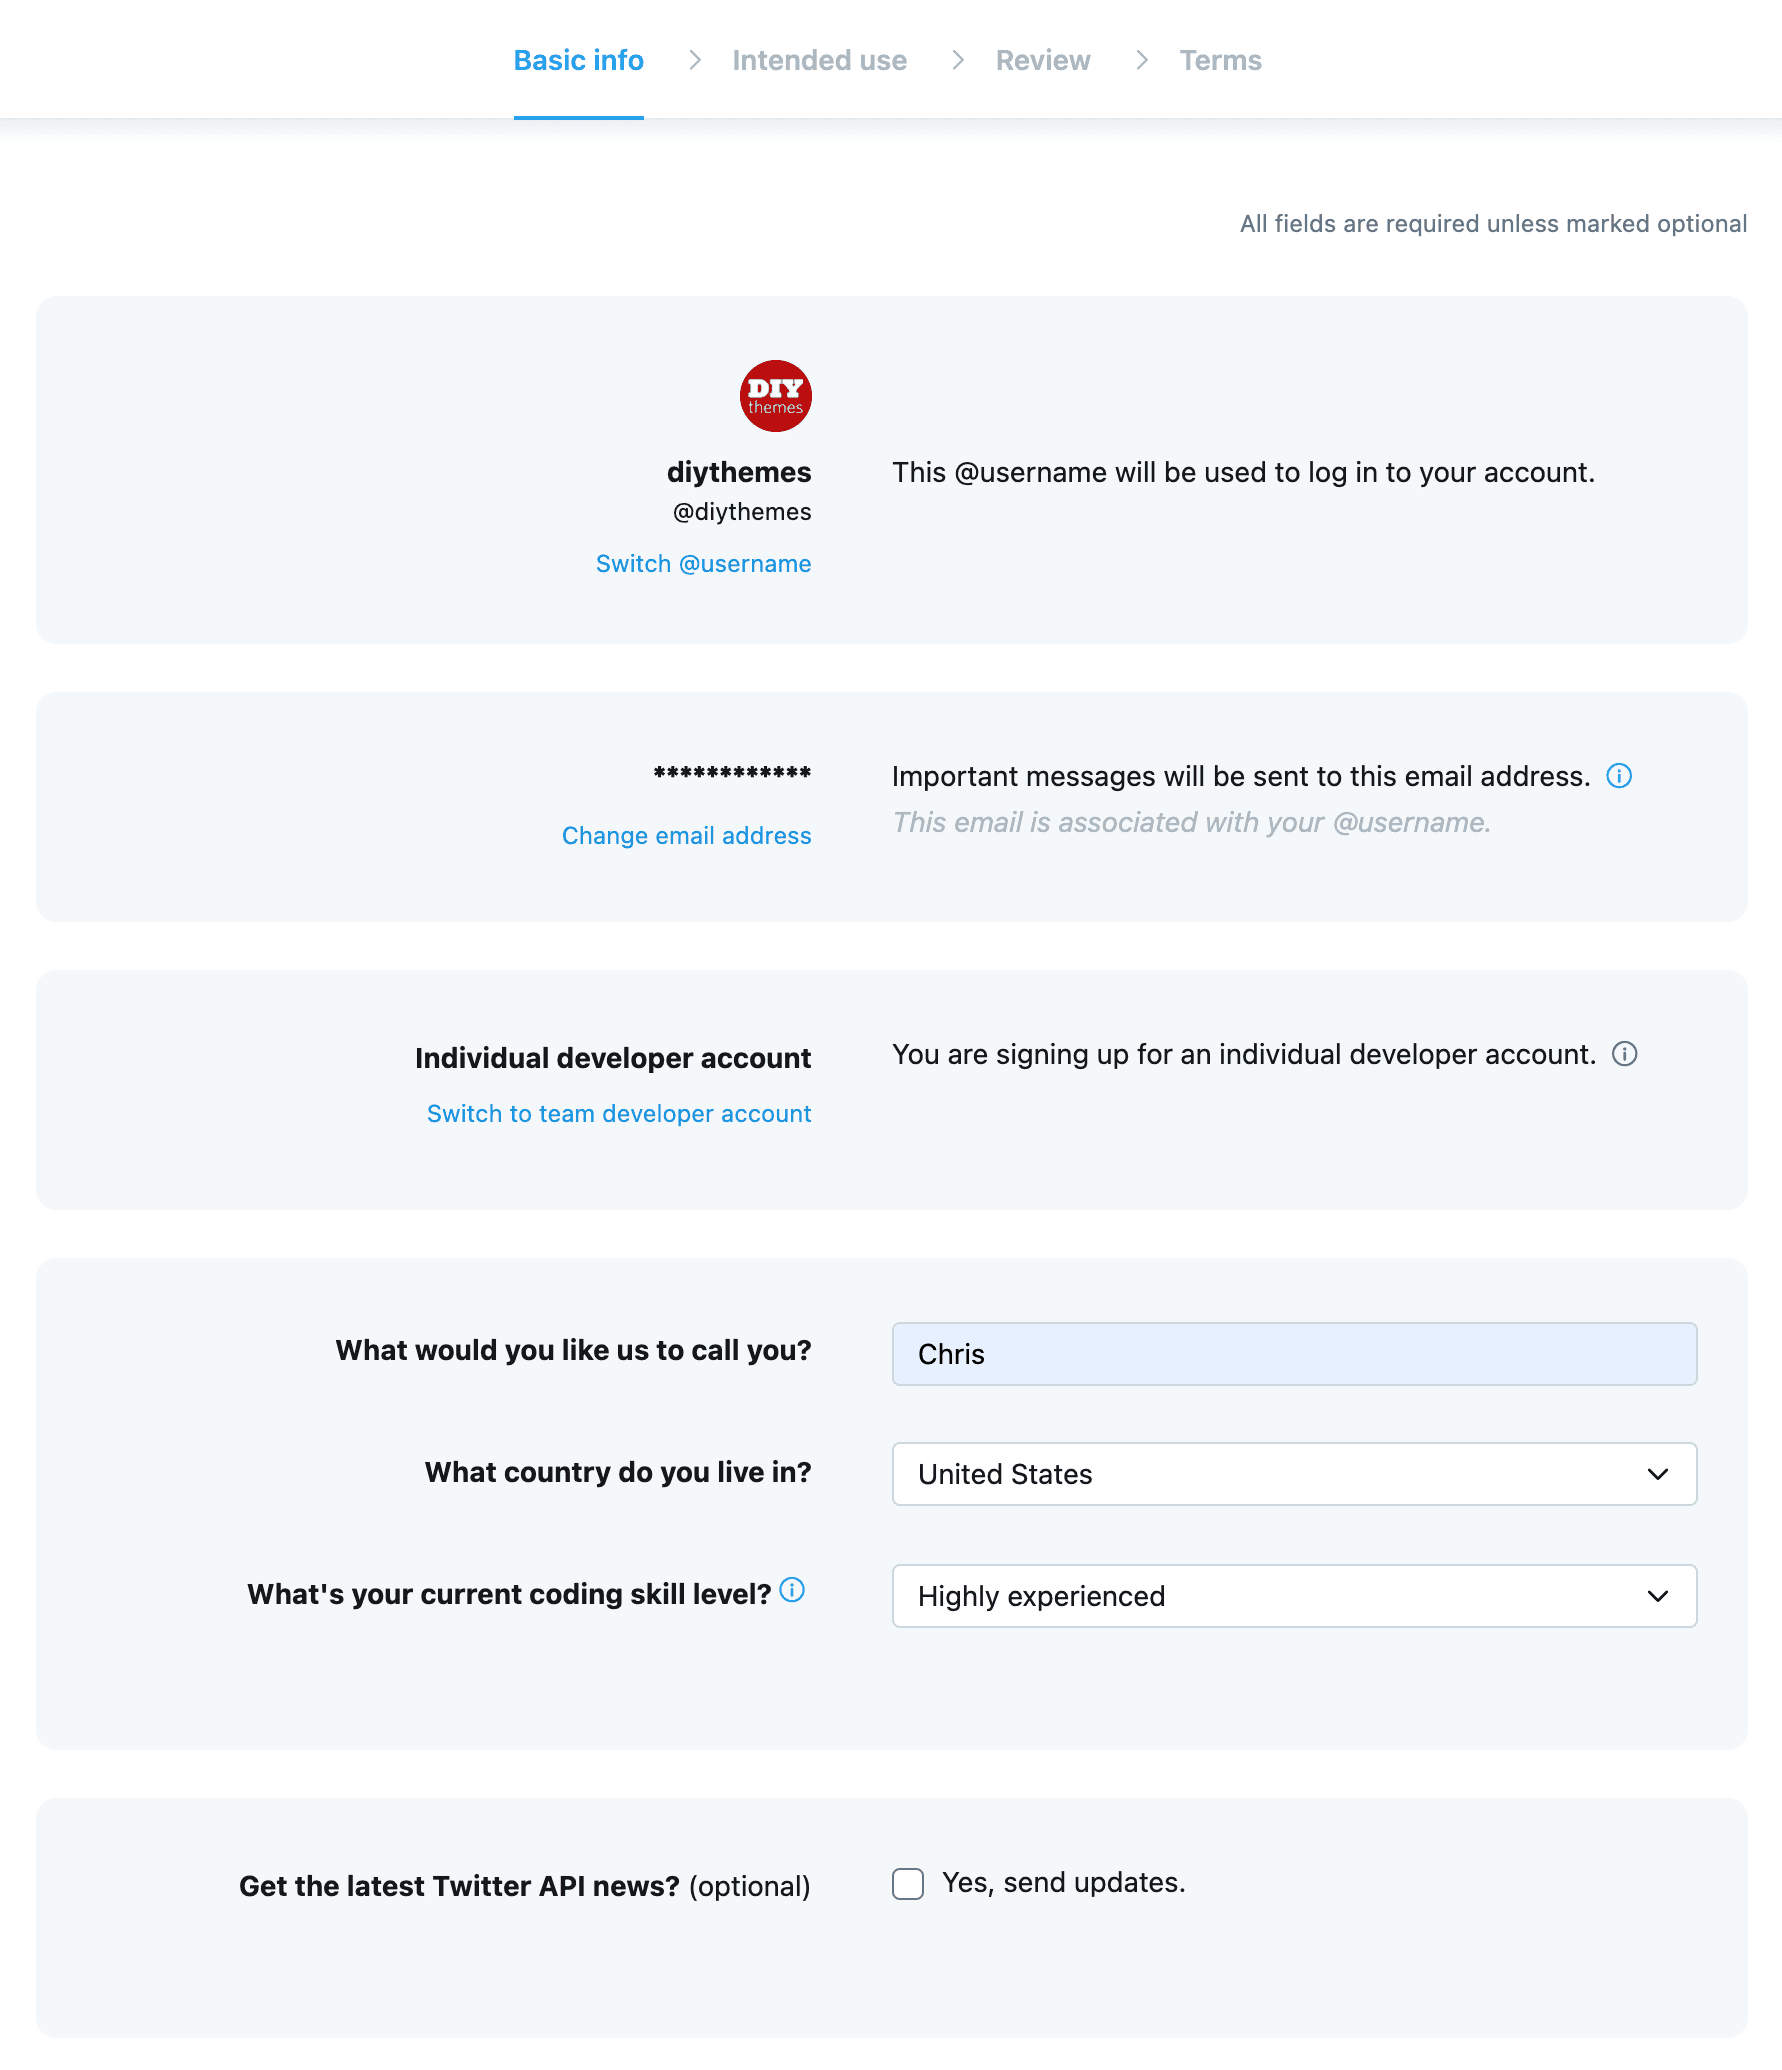
Click the Next button in the lower right corner of the screen to verify your information and move onto the next step!
4. Intended Use
This is the most important and involved step for accessing the Twitter API.
WARNING: Do not copy/paste the responses below, or else Twitter will reject your application! Instead, try to say something similar in your own words.
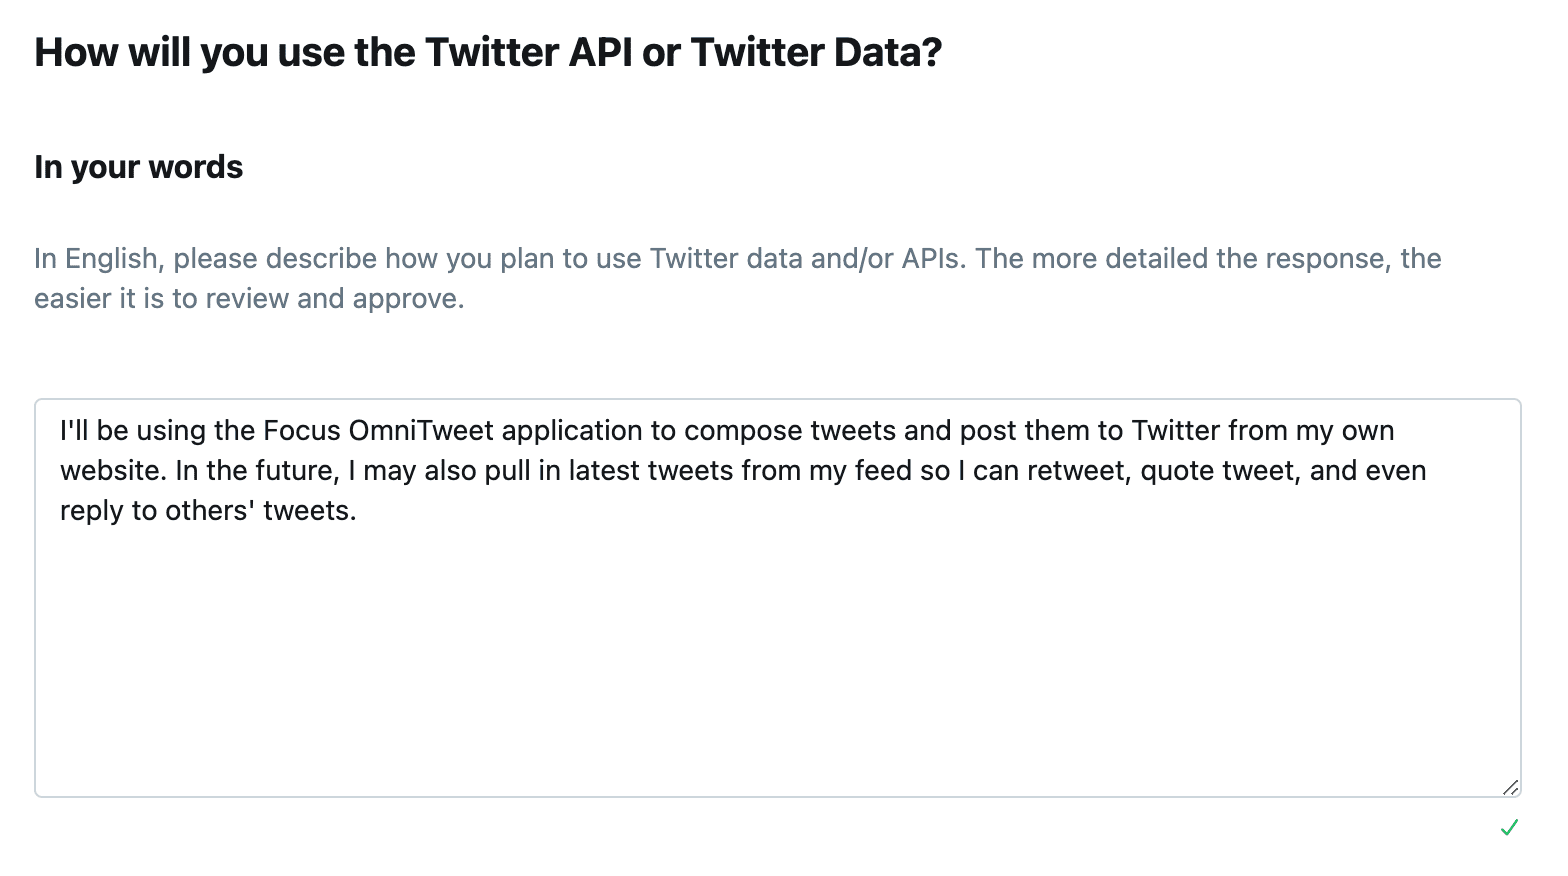
How will you use the Twitter API or Twitter Data?
I’ll be using the Focus OmniTweet application to compose tweets and post them to Twitter from my own website. In the future, I may also pull in latest tweets from my feed so I can retweet, quote tweet, like, and even reply to others’ tweets.
Are you planning to analyze Twitter data?
No.
Will your app use Tweet, Retweet, Like, Follow, or Direct Message functionality?
Yes:
I will use the Focus OmniTweet application to create tweets on my website, and then I will use Tweet functionality to post those tweets to Twitter.
Do you plan to display Tweets or aggregate data about Twitter content outside Twitter?
Yes:
Any tweets I create with Focus OmniTweet will be displayed in a timeline on my own website, but these tweets will not have direct URL endpoints.
Will your product, service, or analysis make Twitter content or derived information available to a government entity?
No.
Here’s what the remainder of your Intended Use data should look like when you’re done:

Once again, click that Next button, and then Twitter will ask you to review your information.
5. Review Info & Accept Terms
After reviewing your information and accepting the Twitter API Terms, you’ll need to verify your email.
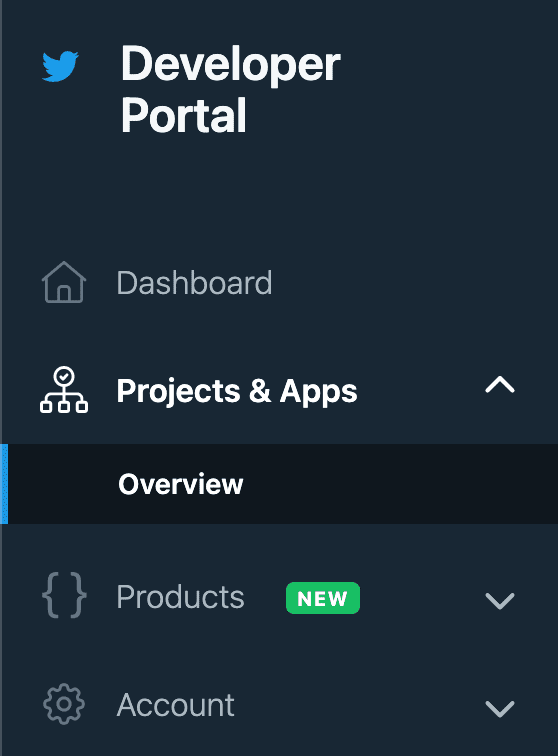
Once that’s done, use the navigation menu on the left side of your screen to visit the Projects & Apps → Overview page.
6. Create Your App
Finally—it’s time to “create your app,” which is a completely irrelevant way to say “get your API keys” (which is the reason you’re going through this nonsense!).
First, you’ll want to create a new standalone app using the + Create App button at the bottom.
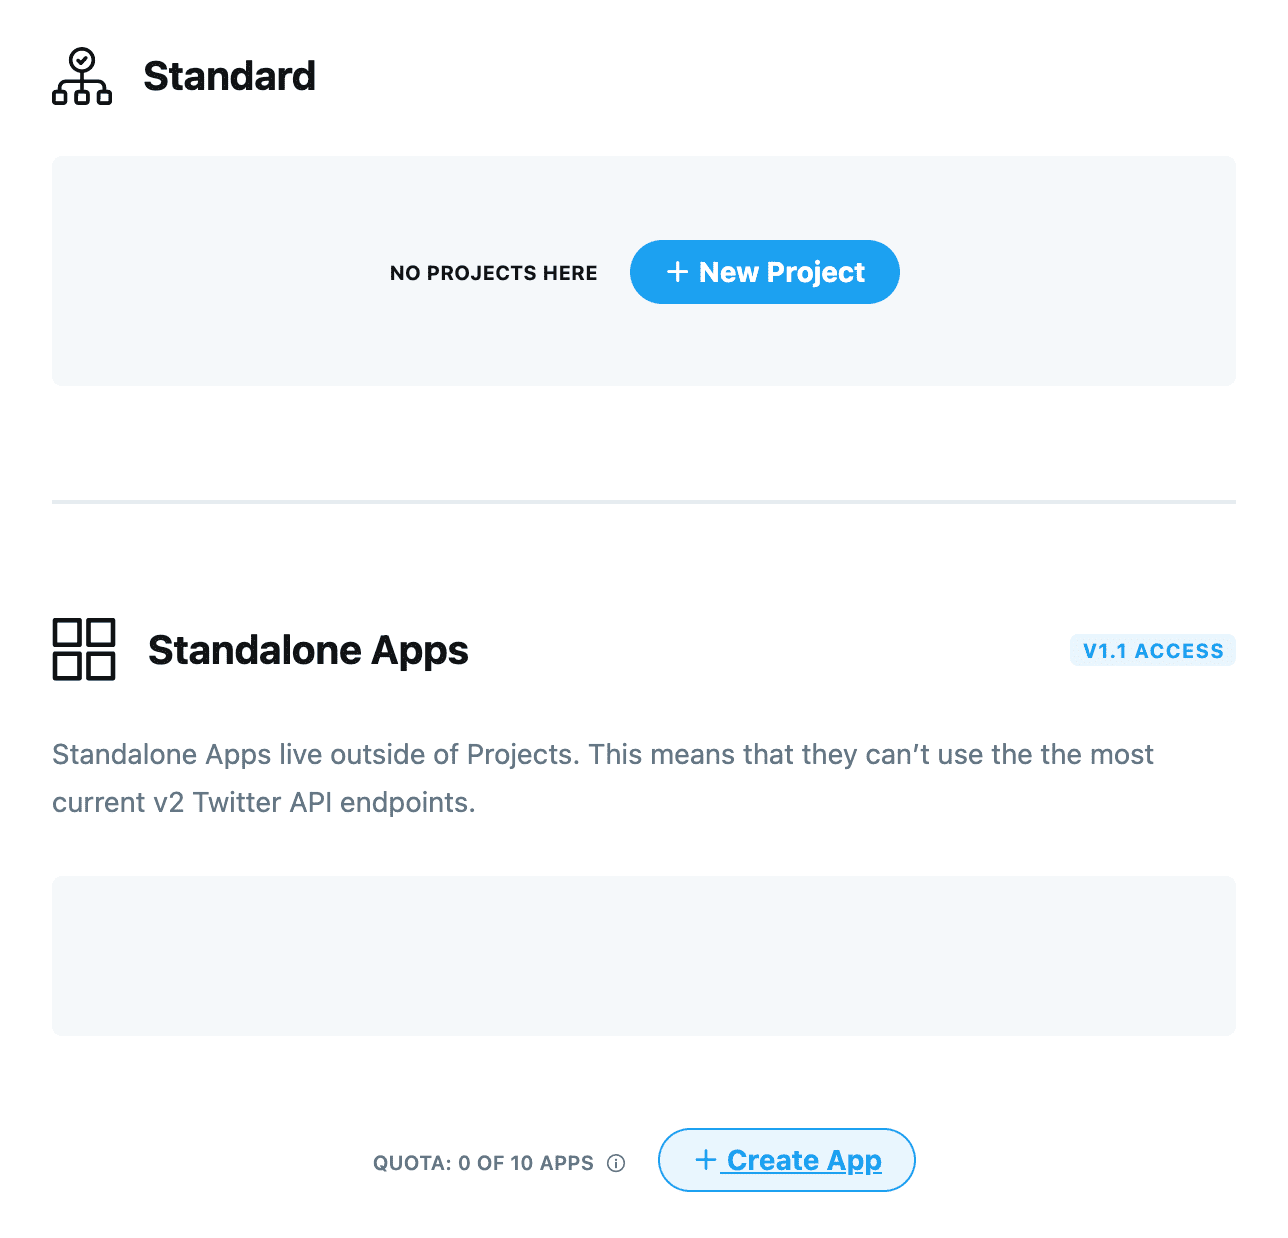
Please note: YES, you will be creating an app that “can’t use the most current v2 Twitter API endpoints.” This is intentional and precisely what you need to do.
On the next screen, give your app a unique name—I recommend something like “[your site name] Timeline” to avoid potential conflicts.

Mercifully, the end is now in sight!
7. Get Your Consumer API Key and Secret
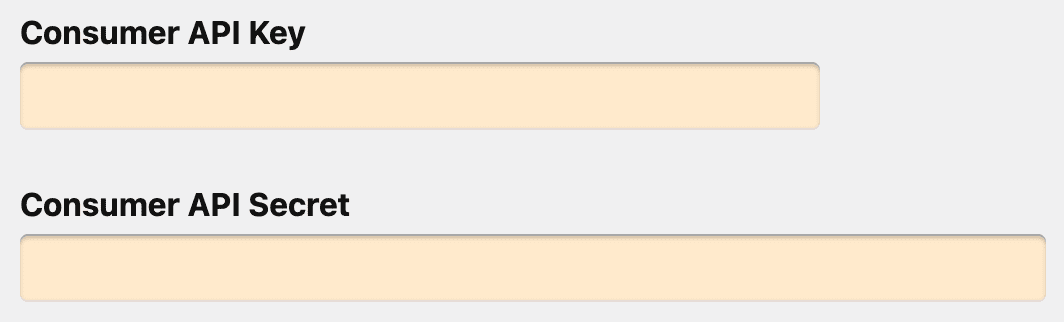
And now it’s time to grab the first two critical pieces of information to connect Focus OmniTweet to your Twitter account—your Consumer API Key and associated Secret.
Copy the API Key and API Secret Key…
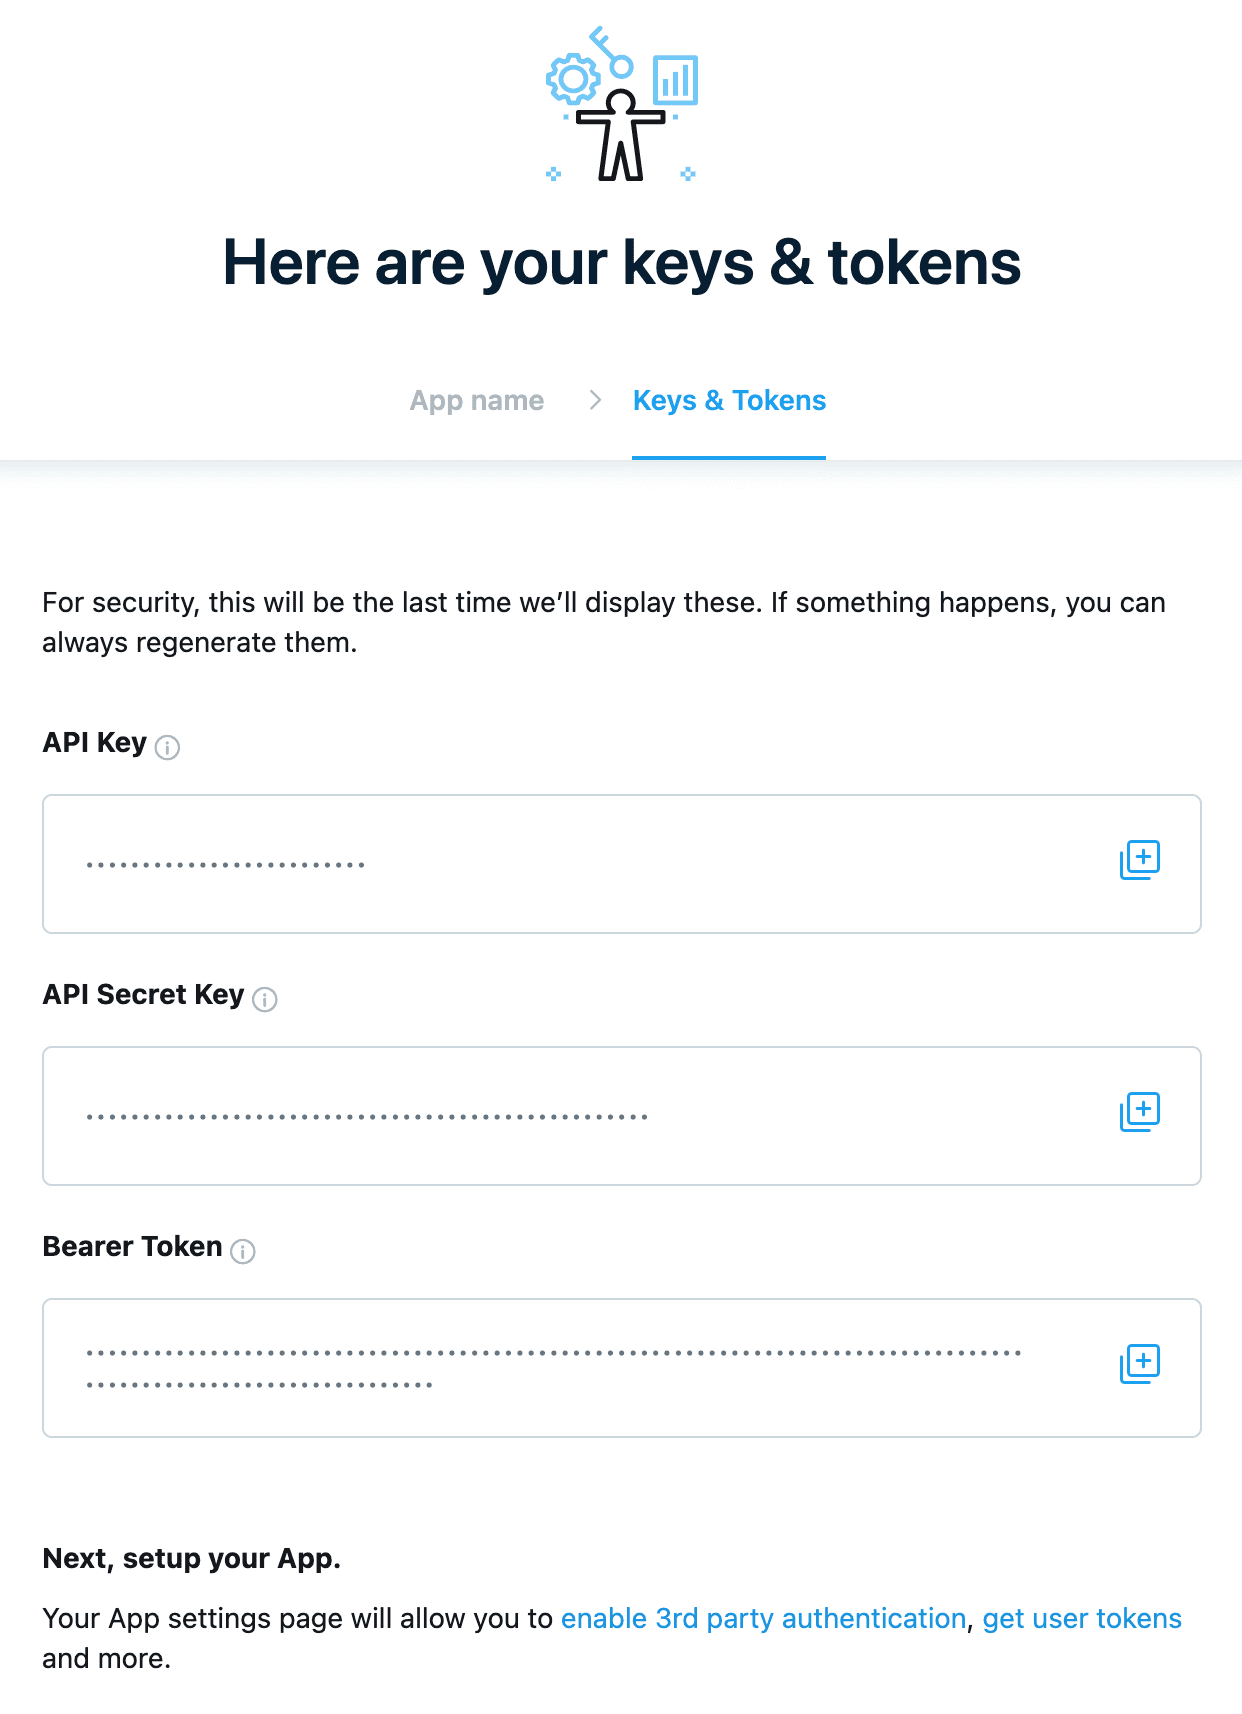
Copy your API Key and Secret; you won’t need the Bearer Token.
…and paste each one into the associated field on your Focus OmniTweet Settings page:
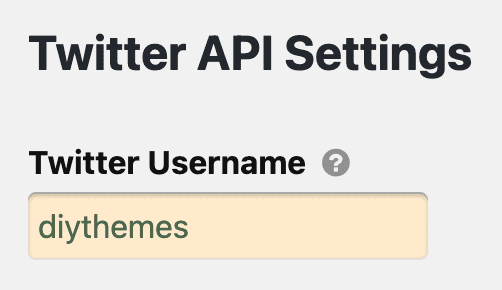
And while you’re here, go ahead and enter your Twitter username in the appropriate field.
When you’re finished, click Next, and you’ll be taken to your new app settings page.
8. Set App Permissions
On your app settings page, look for the App Permissions section, and then click the associated Edit button.
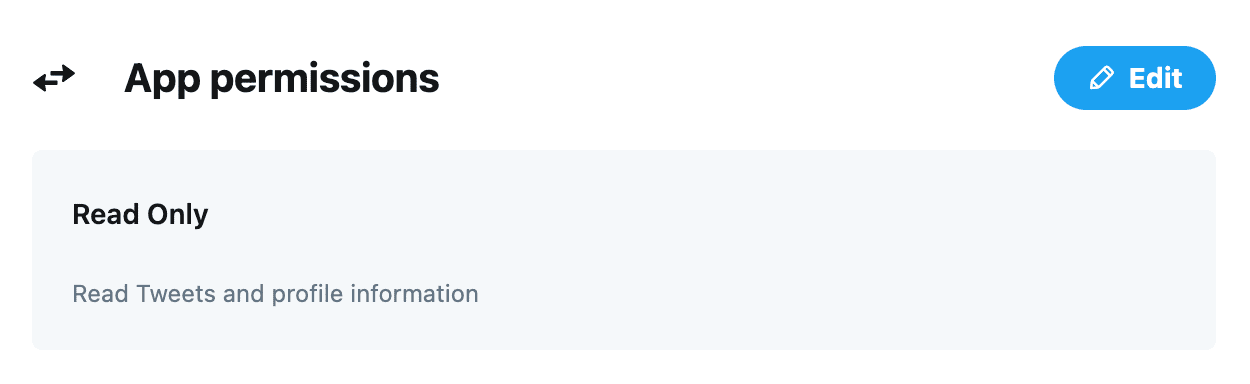
You’ll need to modify your app permissions to let Focus OmniTweet do its thang!
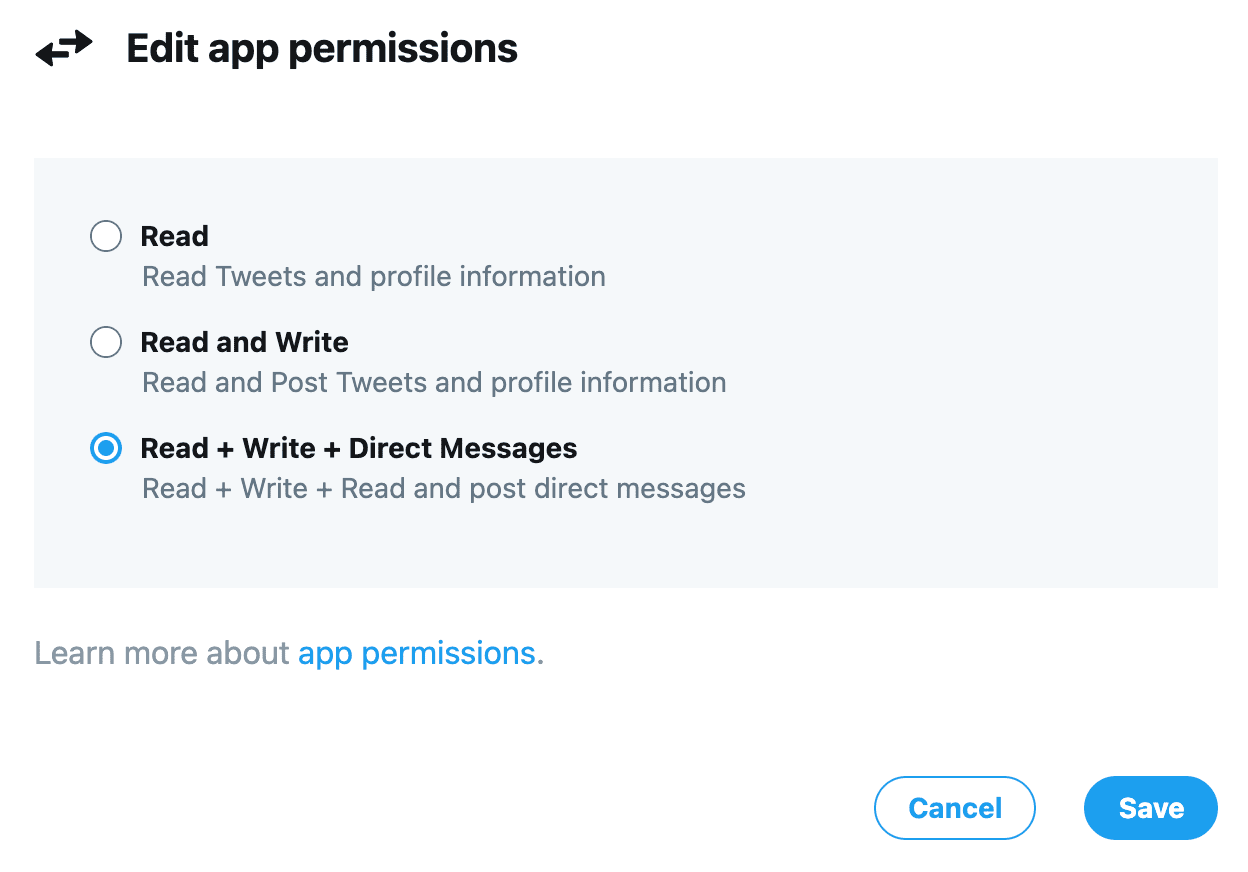
Now on the app permissions editing screen, select Read + Write + Direct Messages, and then click the Save button to lock in your changes.
This will take you back to your app settings page, where you can complete the final step!
9. Get Your Authentication Access Token and Secret
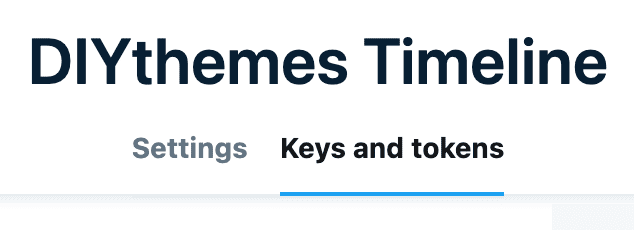
To begin, click the Keys and tokens link in the navigation menu of your app settings page.
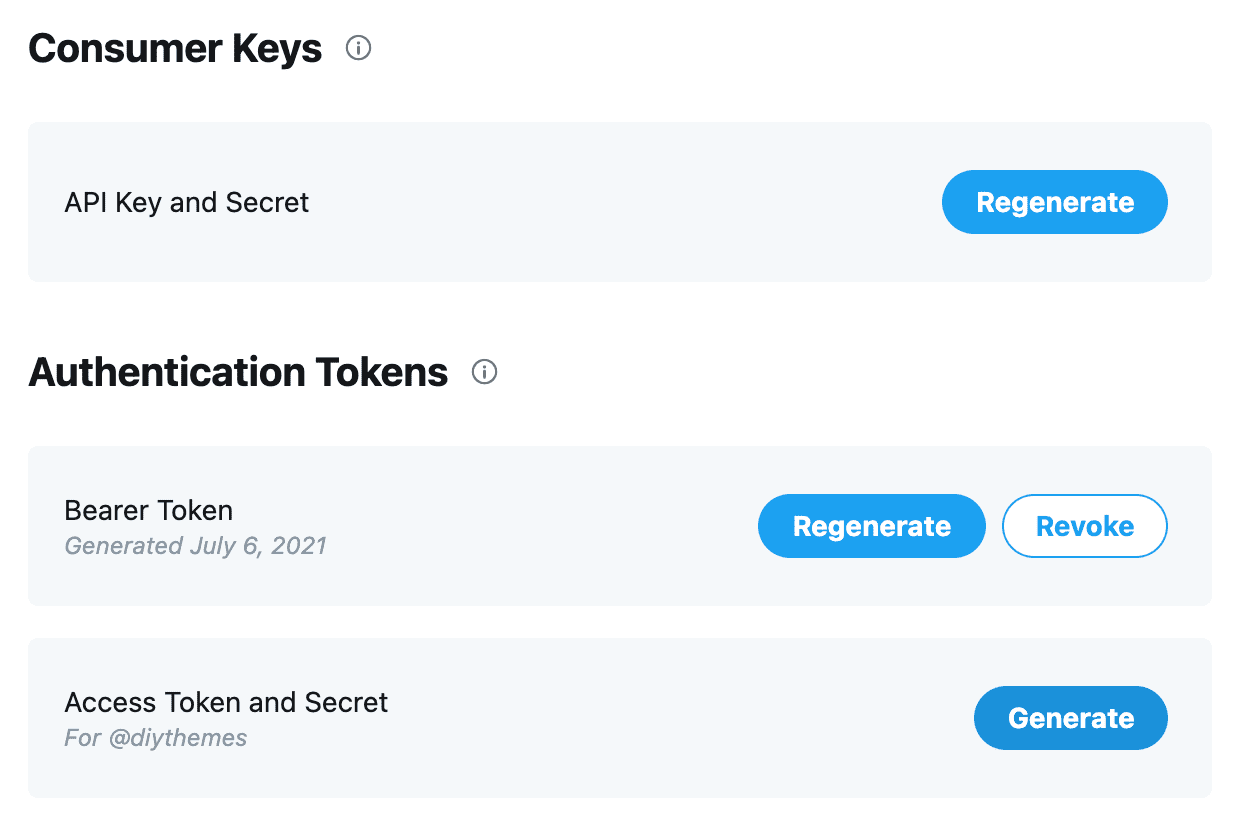
On the ensuing screen, look for the Authentication Tokens section, and then locate the Access Token and Secret box.
Click the blue Generate button to reveal your Authentication Access Token and Secret.
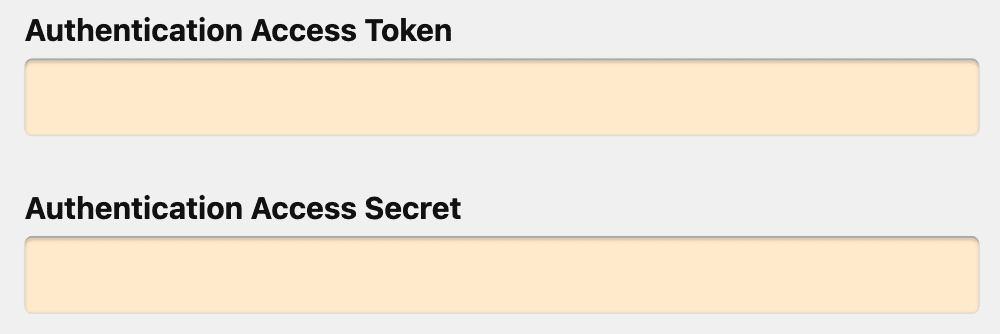
Copy the Access Token and the Access Token Secret…

…and paste each one in the corresponding fields on your Focus OmniTweet settings page.
After pasting your access token and secret into the appropriate fields, click the green Save Focus OmniTweet button in the top right corner of the page.
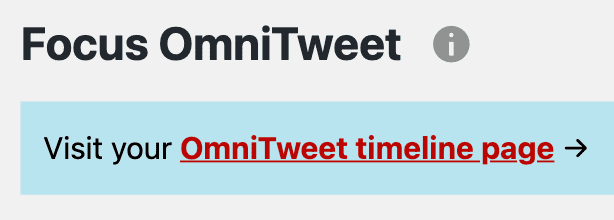
When the page refreshes, you should be good to go. Click the link in the big blue box to visit your new Timeline page, and you’ll be able to start creating short form content on your website!
Next step → Select your Operational Settings