The Thesis Developer Tools Box enables you to perform a variety of developer-related tasks through a simple interface. This article will provide a walk through of each feature in the Thesis Developer Tools Box.
Check for Updates
Don’t want to wait up to 24 hours for your WordPress site to fish for the next Skin or Box update?
Click the blue Check for Updates button, and this Box will fetch the latest updates for all your Thesis components.
Skin Editor Options
There are two types of options in Thesis: Options that affect the HTML output (HTML class, id, etc) and Box-specific options. HTML options always appear in the Skin Editor, but for non-developers, the Box-specific options appear on the WordPress admin side.
The Thesis Developer Tools Box allows Professional license holders to force both types of options to appear in the Skin Editor. This allows for more rapid development of Skins because all options can be edited from the Skin Editor.
To enable box options on the Skin Editor:
- Check “Show box options in the Skin Editor.”
- Click the green “Save Developer Tools” button in the upper right corner.
Skin Distribution
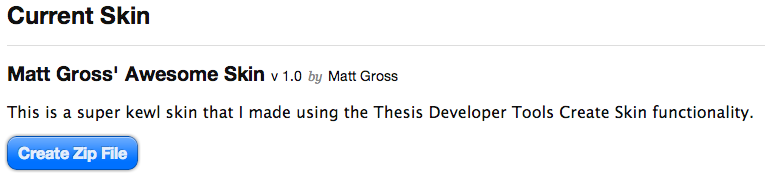
Thesis allows developers to very easily distribute Skins built through the Thesis Skin Editor. When you create a distributable Skin, it will be in the form of a downloadable .zip file.
To create a distributable Skin:
- Check “Enable active Skin to be downloaded as a
.zipfile for distribution”. - Click the green “Save Developer Tools” button in the upper right corner.
-
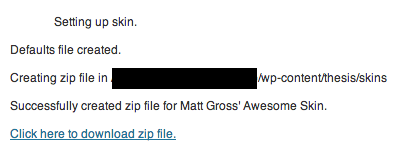
Navigate to Skin > Manage Skins and click “Create Zip File.”
-
Click “Click here to download zip file.”
Create Skin
Thesis allows Professional license holders to create a blank Skin along with the initial file structure. This gives you a quick and easy way to get started with your next masterpiece design.
- Click the “Create New Skin” button. This will take you to a page where you will enter the basic information for your Skin.
- Enter your Skin’s Name, Author, Description and Version. These fields are REQUIRED.
- You may also add a screenshot and, if you have a specific PHP class name, you may enter it. Image and Class are not required fields.
- Once you have entered the required information, click “Create Skin.” Thesis will respond with a message as to whether or not your Skin was created successfully.
Your Skin will be created in the /wp-content/thesis/skins/ directory and will have the following file structure:
/skin-namecss.csscustom.php/imagesskin.php
Skin Skeleton Data
Skin Skeleton Data is arguably one of the most requested features by Skin authors. When you “Export Skeleton Data”, Thesis gets data associated with the current active Skin and puts it into a file that can be used as a starting point for other Skins.
Important: Make sure the Skin you’re using as your “skeleton” has licensing that allows for this. All official Skins from DIYthemes come with MIT licenses that allow them to be used in this manner.
To export Skin Skeleton Data:
- Click “Export Skeleton Data.”
- Choose the items you wish to export. By default everything is selected, even Custom CSS.
- Once you have chosen all the options you wish to export, click “Download Skeleton File.” This is the file you can import to other Skins.
To import Skin Skeleton Data:
Importing Skin Skeleton Data will OVERWRITE the data of the ACTIVE Skin, so use this functionality with caution! It’s also a good idea to use the Skin Manager to make a backup first.
- Click “Import Skeleton Data.”
- Select the Skin Skeleton Data file.
- Click “Import Skeleton File.”
WP Query Tester
The WP Query Tester tells you the number of database queries that were performed and the total amount of time it took to perform them. When selected, a second option will appear that will allow you to output the individual queries as they appear in the WP_Query object.